
Grading: Entering Final Grades in RamPortal
Last edit date: 1/14/2026
Audience: Faculty
Purpose: Use this guide to enter and manage grades in RamPortal during the grading window
that is emailed from the Registrar Office.
| Contents |
|---|
| Navigation |
| Entering Grades |
| Adding Grades for Another Course |
| Understanding the Roster Status and Grades Posted Column |
| Troubleshooting |
Navigation
- Login to RamPortal using your WCU Single Sign On (SSO).
- Locate the Faculty Center card on your home page.
- Open the Course Information dropdown and select Final Grade Entry.
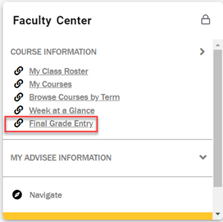
Fig 1: Navigate to Final Grade Entry
Entering Grades
Important: Only primary instructors can enter grades. For courses with sub-courses (for example, FYE), the primary instructor must enter grades for all sections.
- Click on the Roster Status (i.e., Not Started or In Progress) for the course you want
to grade.
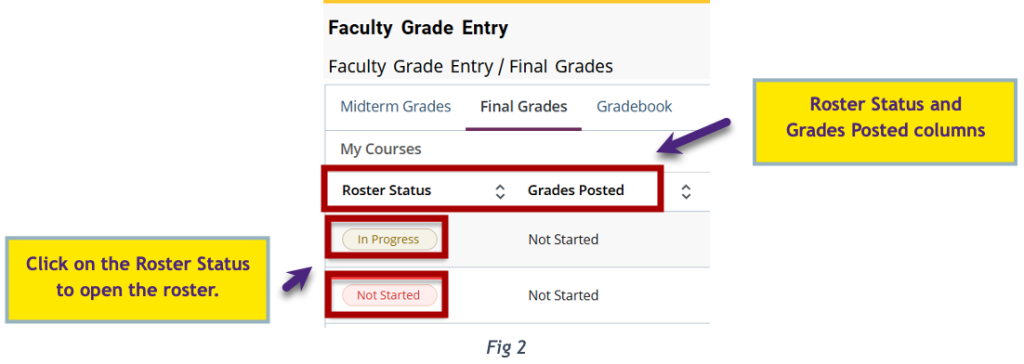
- The roster opens below the course list and is sorted alphabetically by last name. You can sort by any column using the arrows in the column headers.
- Select a grade for each student in the Final Grade column (see Fig 3).
- Enter a Last Attended Date for any student receiving an F or Z grade (this is required).
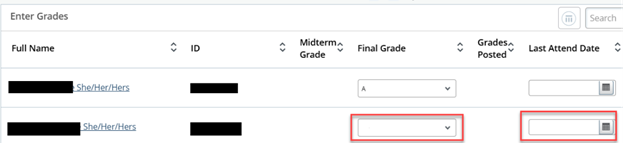
Fig 3: Final Grade and Last Attended fields
- Click Save when finished or at any point if you need to stop and return later. The roster will
remain In Progress until all students have a grade.
- Save saves your work.
- Reset clears any unsaved changes. Use this only if you want to discard what you entered since your last save.
Adding Grades for Another Course
- Remember to save your current roster.
- Return to the course list at the top of the page.
- Select the Roster Status for the next course you want to grade (see Fig 2).
Understanding the Roster Status and Grades Posted Columns
Roster Status:
This shows your progress entering grades.
- Not started: No grades entered yet.
- In Progress: Some grades have been entered.
- Completed: All students have a grade. Grades can be changed on the roster until the grading deadline is released by the Registrar.
Grades Posted:
This shows whether grades have been rolled into students’ academic history by the Registrar’s Office.
- Not Started: No grades have been rolled yet. You can still make changes on the roster.
- In Progress: Some grades have been rolled (often due to withdrawal grades such as a W). You can still make changes to any grades that have not been rolled.
- Completed: All grades have been rolled by the Registrar and show on the students’ academic history. No more changes can be made via the roster. Any changes now must be submitted through the official Change of Grade process.
Troubleshooting
I can’t click in the Final Grade column.
- The grading window may not be open.
- You may not be listed as the primary instructor
I don’t see the class roster below my list of courses.
- Make sure you clicked on Not Started or In Progress in the Roster Status column (see Fig 2).
- Try scrolling down. The roster appears below the list of courses.
- Zoom out or zoom in slightly using your browser zoom controls. Sometimes the roster is hidden when the screen zoom is too high.
I can’t see all the students on my roster.
- If you have a large number of students in your class, the roster may be split across multiple pages.
- Scroll to the bottom of the roster.
- Use the Per Page option to increase the number of students shown or use the arrows to move between pages.
I entered grades, but the Roster Status still shows In Progress.
- Double-check that every student on the roster has a grade.
- Look for any blank grade fields. One missing grade will keep the status as In Progress.
I accidentally selected the wrong grade.
As long as the grading window is still open and Grades Posted is not Complete, you
can change the grades directly on the roster and click Save again.
For additional assistance, submit a ticket for support.